
Configuring SSO with Microsoft Entra ID
This guide provides instructions on how to configure Single Sign On for Clerq using Microsoft Entra ID as an identity provider. If you have any questions about this gude while you are going through it, feel free to reach out to your Clerq customer sucess manager or emails support@clerq-ip.com.
Service Provider Configuration
To configure Clerq as a service provider on Microsoft Entra ID, follow the steps below.
- On your Azure Portal homepage, click the Microsoft Entra ID resource as shown in the image below
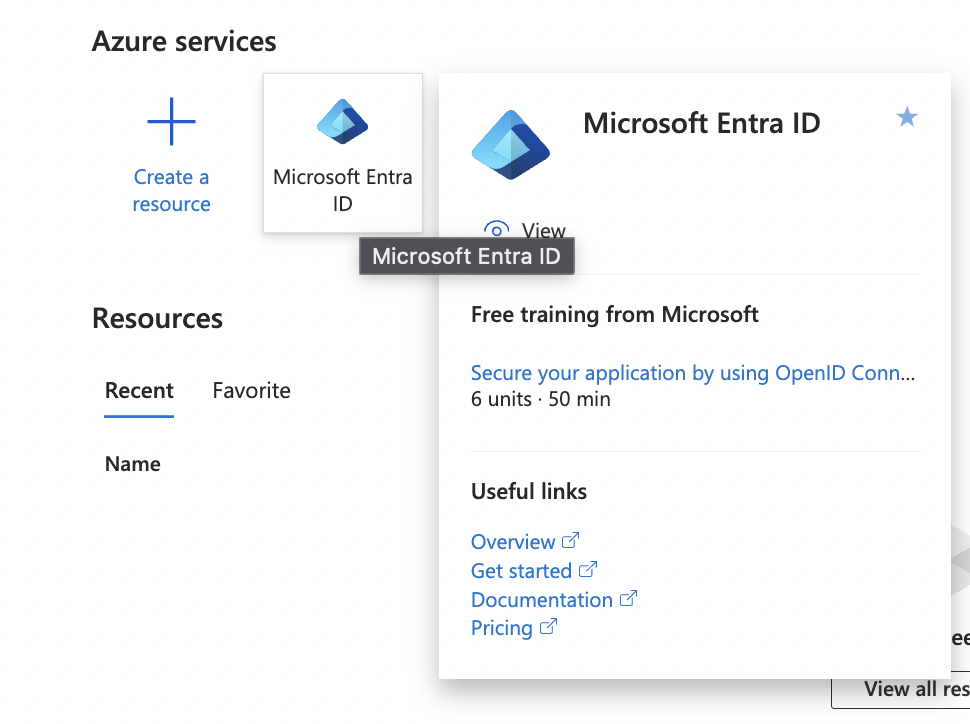
- Then click on the “Enterprise applications” link on the left side of the Entra ID page

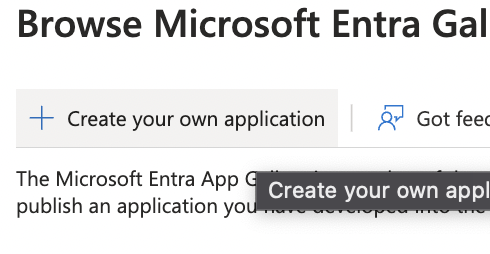
- You’ll be taken to a page which lists all your existing Microsoft Entra ID applications. Click the “Create your own application” link at the top of the page to create a new application.

- On the next page, you’ll see a list of pre-configured Microsoft Entra ID applications. For now, we don’t need any of these, we need a custom configured Microsoft Entra ID application, so we will click on the “Create your own application” link at the top of the page.
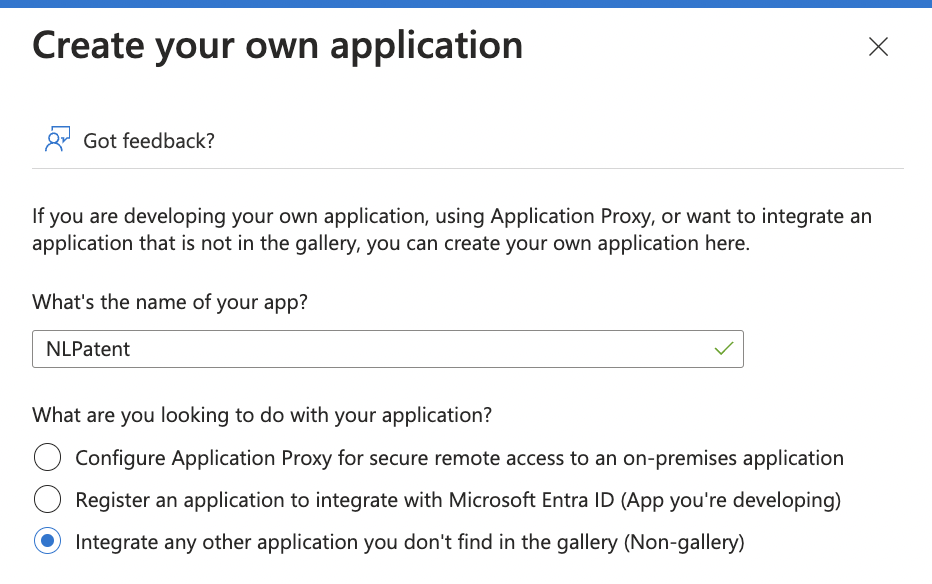
- On the “Create your own application” popup, fill in the form to match the image below, and then click create at the bottom of the popup.
- On clicking “Create”, you will be redirected to a new page to configure the application you just created. On that page, click the “Single sign-on” link on the left side of the page.
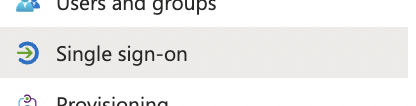
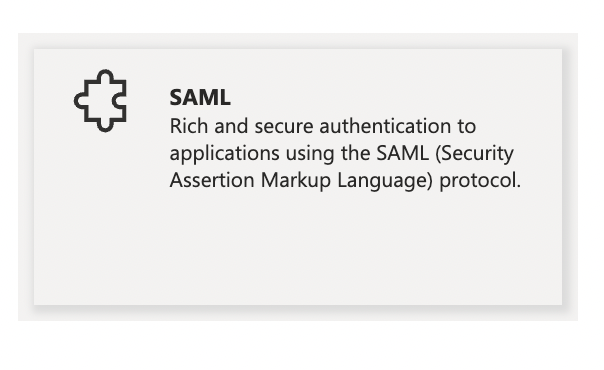
- Then click on the SAML button on the Single sign-on page as shown in the image below:
-
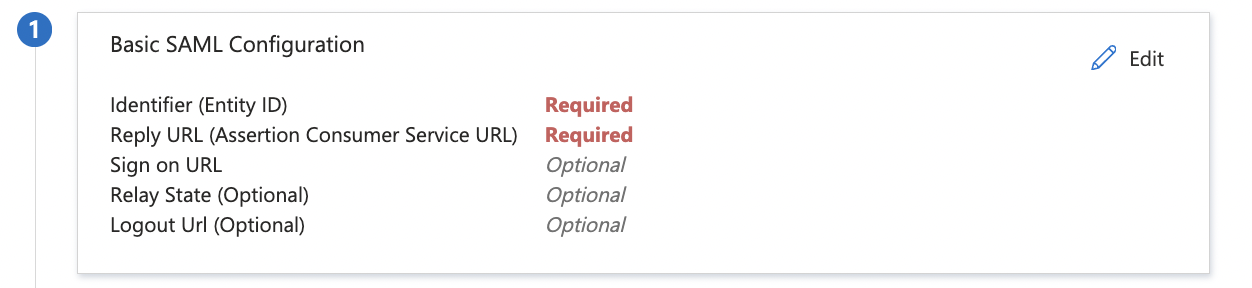
You should now be redirected to the SSO configuration page. The first section on the page allows you set up the basic SAML connection parameters . Please refer to the Admin panel of Clerq for the
which would list the Entity ID, Assertion Consumer Service (ACS) URL and the Sign-On URL.
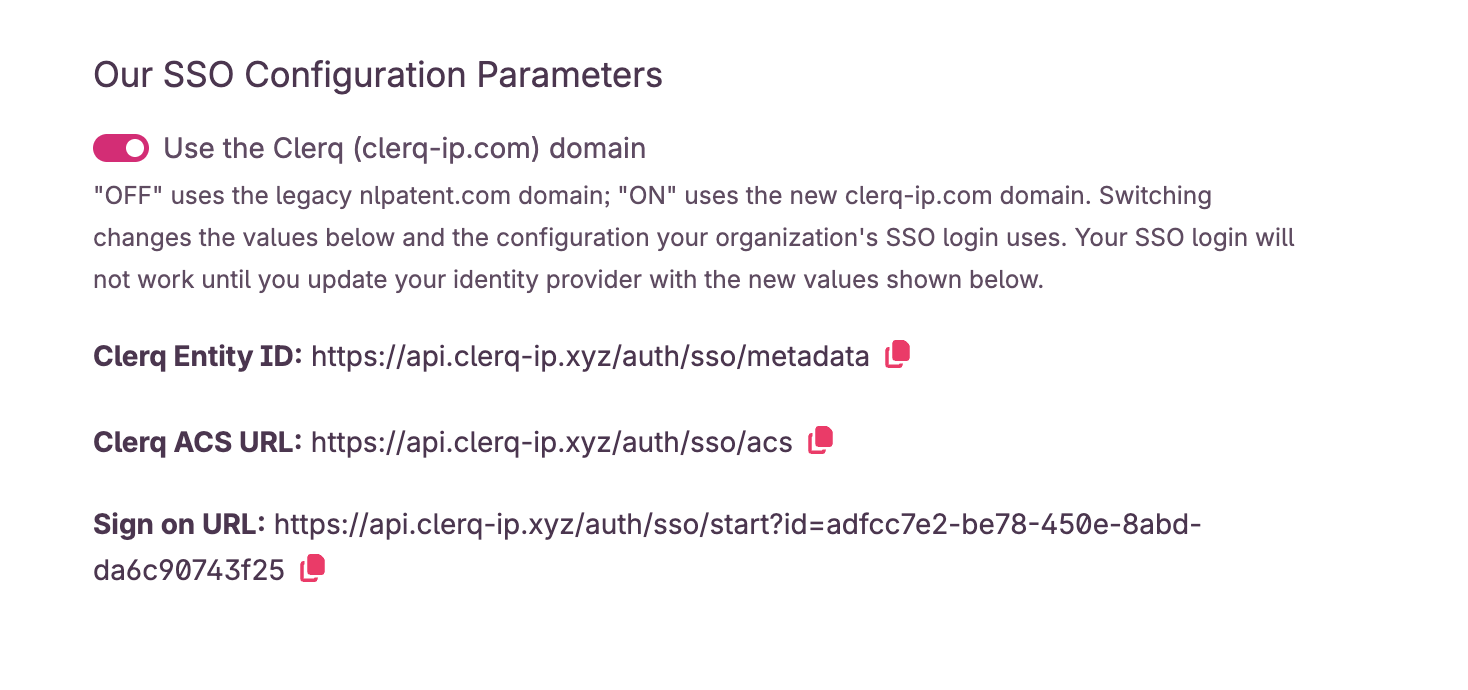
Clerq's admin page listing out the SSO links
-
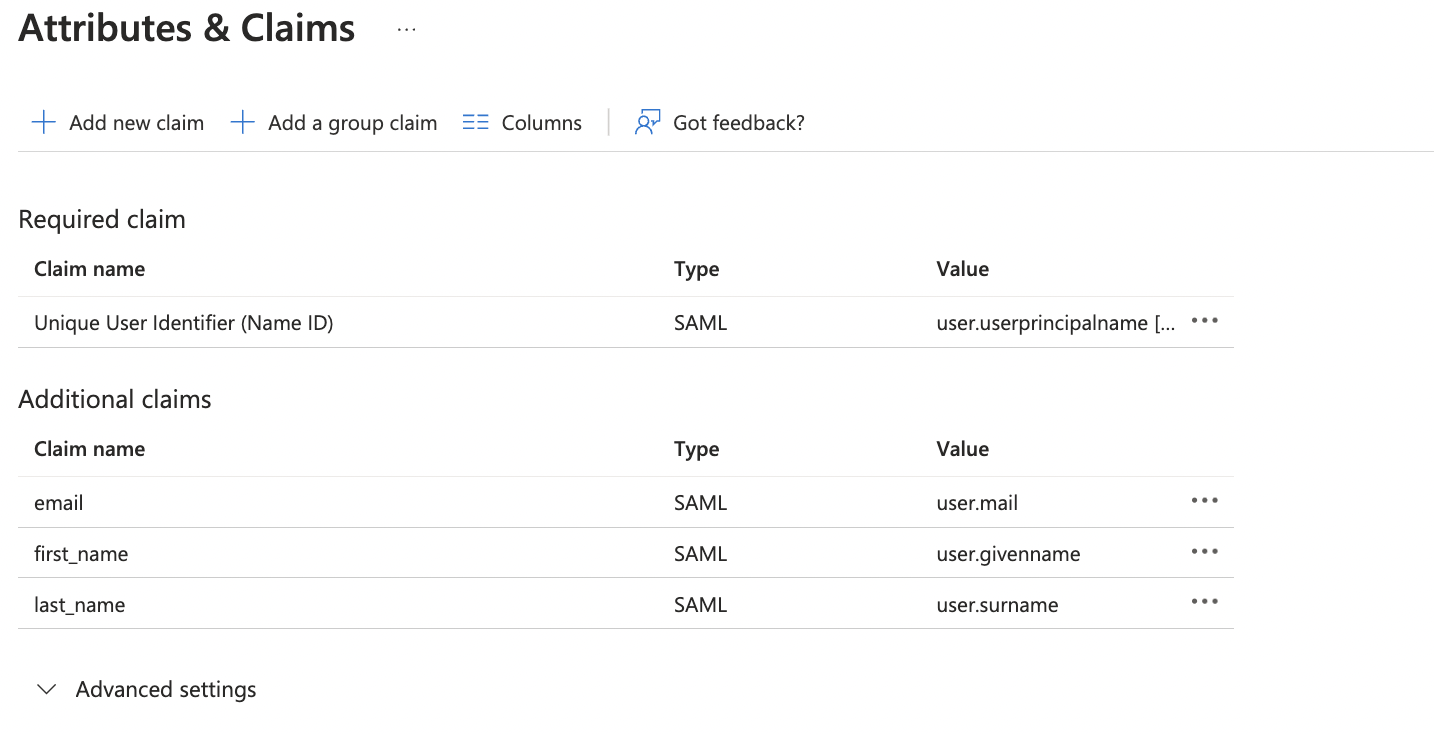
For the “Attributed & Claims” section, we require three attributes named
email,first_nameandlast_name. Edit these attributes to map them to the correct fields in your user directory. Make sure to enable "Expose claim in JWT tokens in addition to SAML tokens" under "Advanced SAML claims options" for the three additional claims.
Once done it should look something like this:

- Finally, enter your new SAML app's configuration in the Clerq SSO Configuration page. You will need to have an Clerq admin account to configure this page.
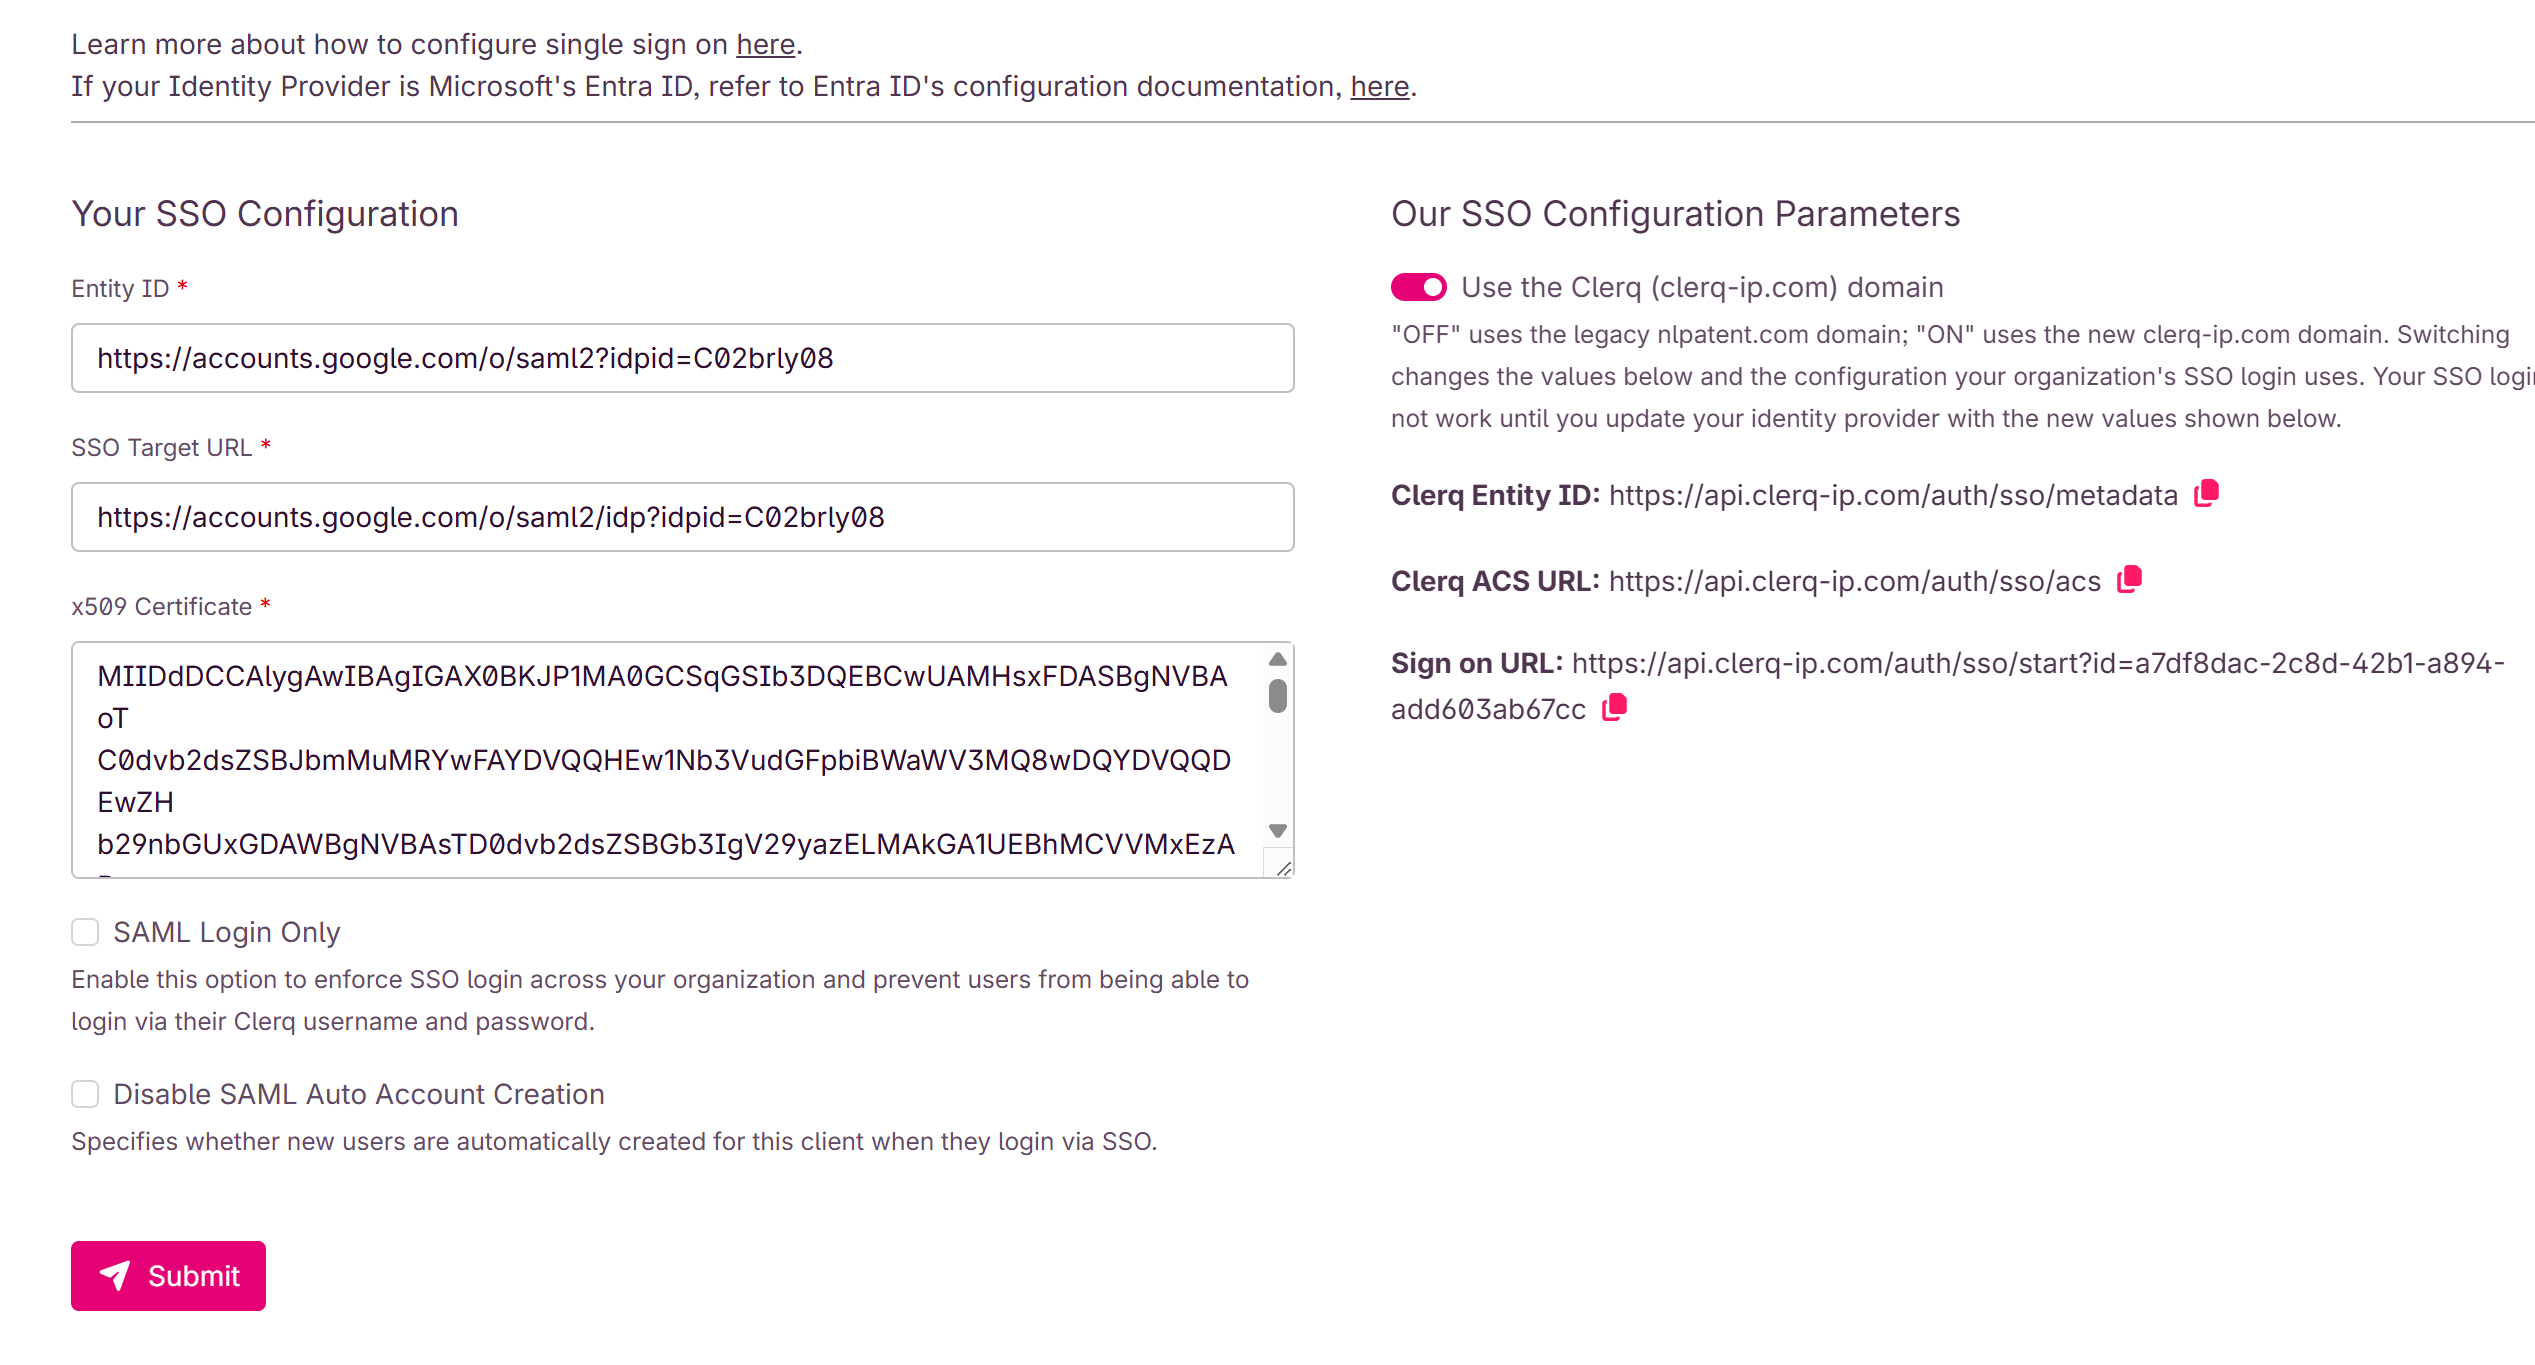
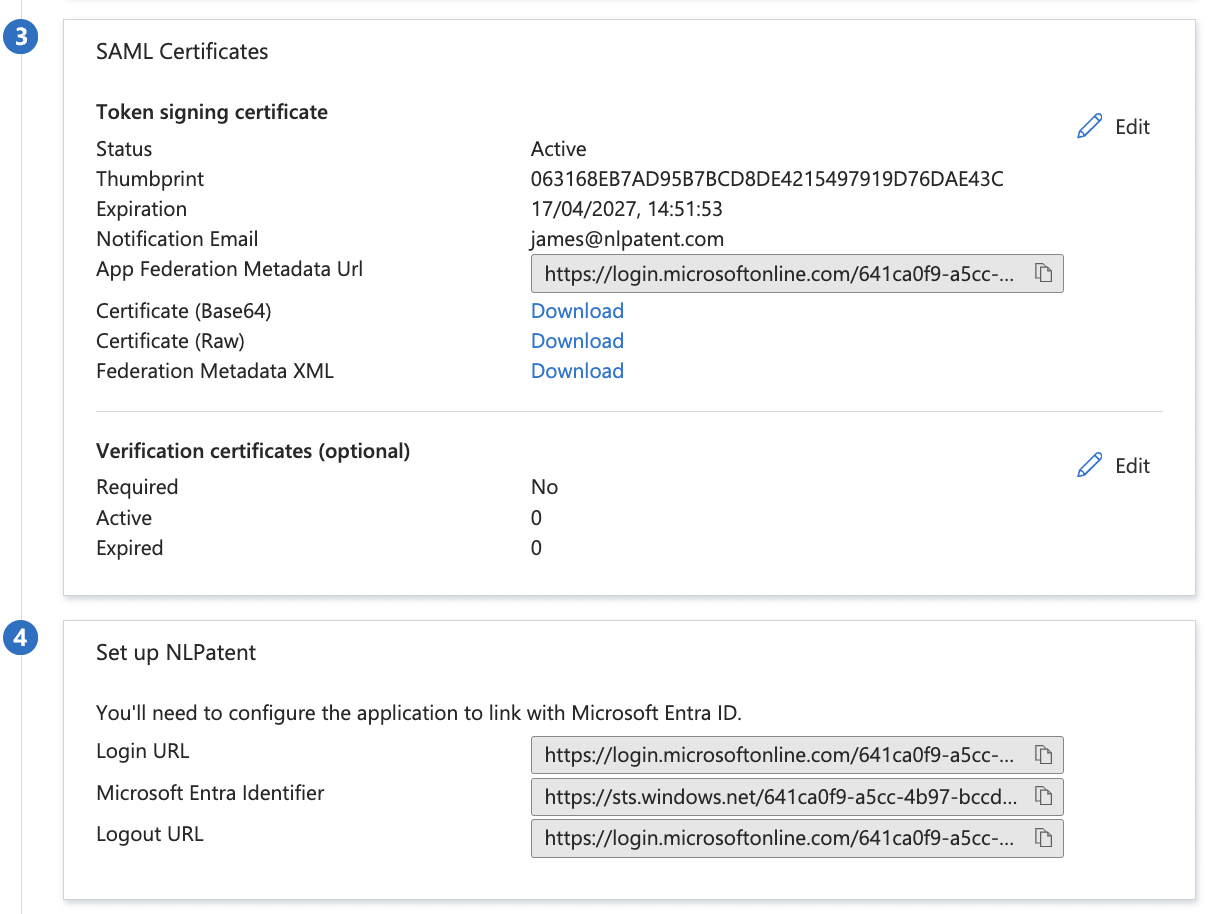
- In the "Entity ID" field enter your Microsoft Entra Identifier.
- In the "SSO Target URL" enter your Login URL
- In the x509 Certificate field, download the Certificate (Base64) file and copy and paste the entire contents of this file into this field.
Testing The Integration
There are three ways to login using SSO. Below explains each of the three different methods and how to test it.
Microsoft Apps Login
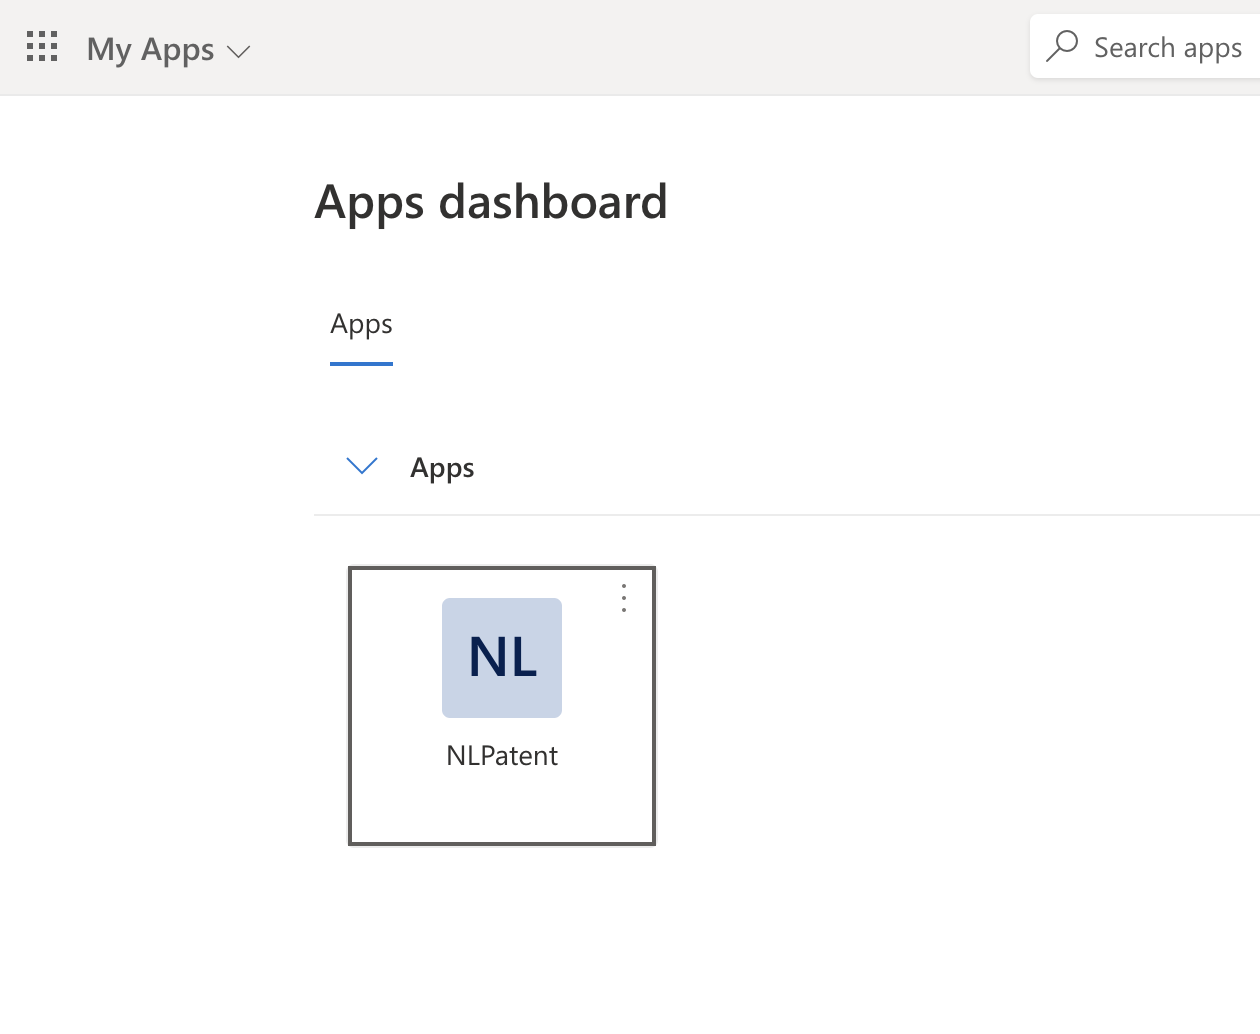
If you go to https://myapplications.microsoft.com/ you should now see a new app called Clerq. Clicking on this app should allow you to login to the Clerq platform through your Microsoft account. If a user who does not have an Clerq account uses this method to login, we will automatically create an account for them.
Clerq UI Login
For users who already have an Clerq account, they can go to https://search.clerq-ip.com/login?sso=true and enter their email address to login to the Clerq platform via SSO.

Enter your Clerq email address and you should be redirected to Microsoft Entra ID to complete the authentication process.
Using your "Start URL"
In step 8, you added a "Sign on URL" to your Entra app. You can also use this URL to login to the Clerq application. This is useful if you'd like to bookmark a link to the app.
Further Configuration Options
Disabling Username + Password Login
Once you've confirmed that your SSO integration is working correctly, you will probably want to disable username/password authentication for your account so that the only way users can login to your account is through SSO.
To do this, check the "SAML Login Only" option in the SSO Configuration page and save your configuration.

Disabling Automatic Account Provisioning
By default, new users will be automatically provisioned in the Clerq platform when signing in via SSO (assuming you have available seats in your plan). If you do not want new users to be automatically provisioned, then check the following option in your SSO Configuration page.
